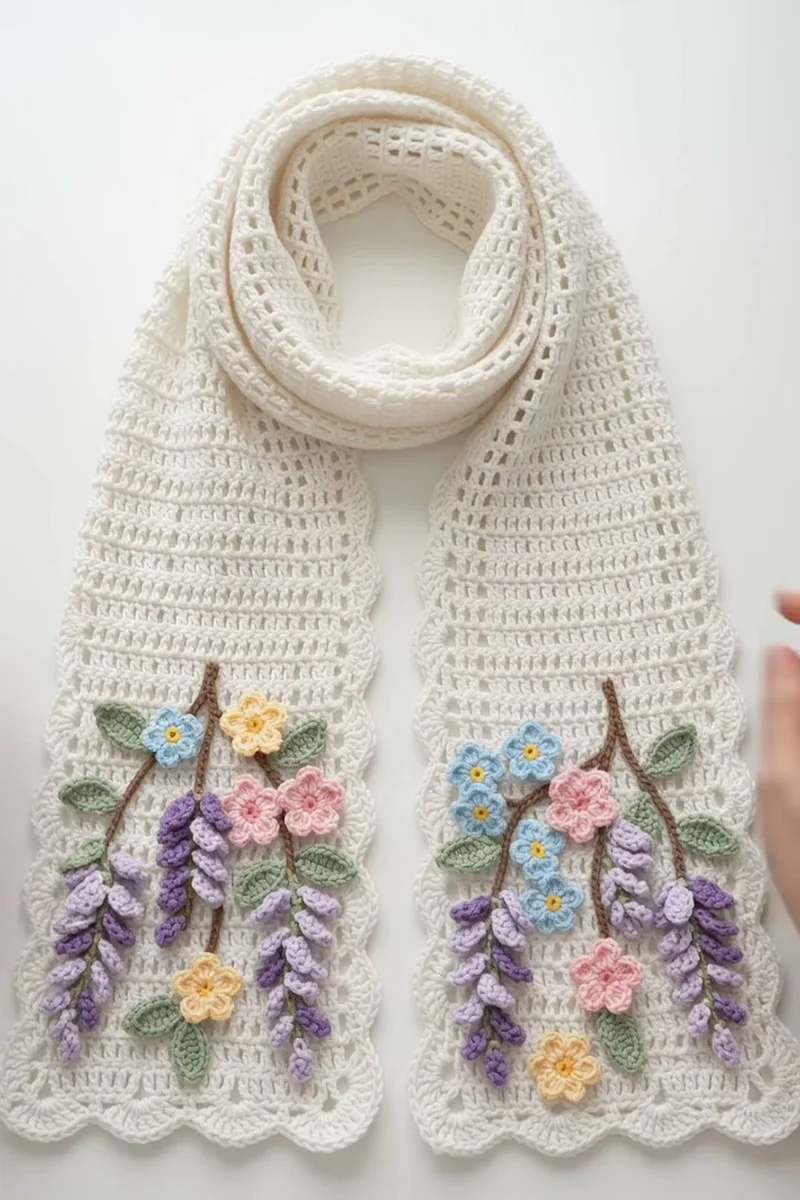
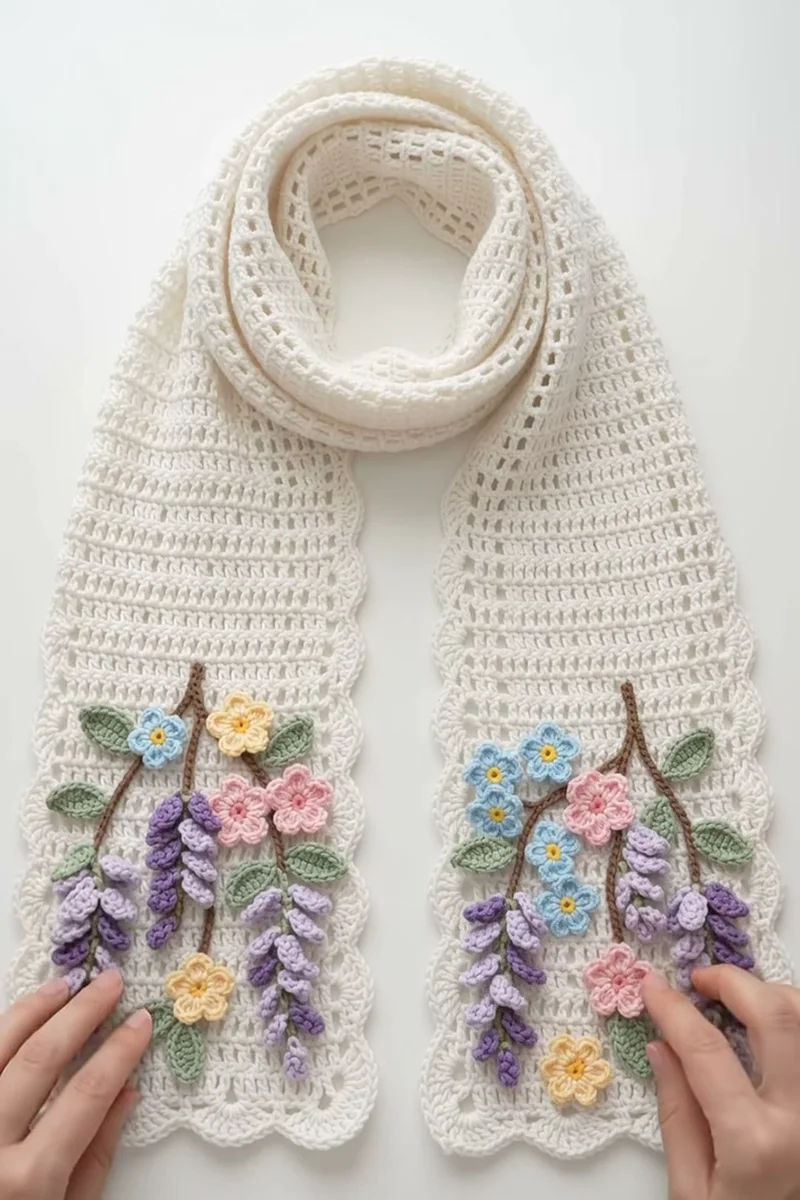
This crochet wisteria scarf pattern pairs a light cream filet mesh with a garden of 3D appliques at both ends. Lavender and purple wisteria clusters hang from brown branches, with pink, yellow and blue flowers and green leaves tucked between them, and a scalloped shell edging finishes each end.
The scarf is worked flat in rows of double crochet and chain 1, which builds an open grid of 21 squares across. The scallop edging is added to both short ends. The wisteria clusters are made by working petals back along a chain, from small buds at the tip to bigger petals at the top, so each one curls into a drooping cone. All the appliques are sewn on last, mirrored on both ends.
Plan on 14 to 18 hours, most of it on the appliques. The mesh itself is quick and relaxing. This pattern suits an intermediate crocheter who is happy to make lots of small pieces and arrange them with care. The finished scarf is about 9 x 71 in.
🧶 Materials
Yarn (DK / weight 3 cotton or cotton blend)
Cream or ivory: about 540 yd (494 m) for the scarf and edging
Lavender: about 45 yd (41 m) for wisteria
Medium purple or lilac: about 45 yd (41 m) for wisteria
Baby blue: about 25 yd (23 m) for small blossoms
Pastel pink: about 30 yd (27 m) for medium flowers
Pale yellow: about 30 yd (27 m) for yellow flowers and flower centers
Sage green: about 55 yd (50 m) for leaves
Brown or taupe: about 15 yd (14 m) for branches and stems
Hooks
4.0 mm (G-6) hook for the mesh scarf and edging
3.0 mm (C-2/D-3) hook for all flowers, leaves, wisteria and branches
Notions
Tapestry needle for sewing appliques
Stitch markers (2-4)
Rust-proof pins and blocking mats or a folded towel
Spray bottle
Scissors and a measuring tape
✂️ Abbreviations
ch: chain
sl st: slip stitch
sc: single crochet
hdc: half double crochet
dc: double crochet
sk: skip
sp: space
st(s): stitch(es)
MR: magic ring
RS: right side
rep: repeat
* *: repeat the steps between asterisks as directed
Before you start: Make a swatch of about 10 mesh squares by 10 rows in cream DK with the 4.0 mm hook, then block it. Your gauge should be 9 mesh squares and 9 rows to 4 in (10 cm) after blocking. Make one wisteria cluster with the 3.0 mm hook to check that it curls and does not flop.
Crochet Wisteria Flower Mesh Scarf Pattern
This crochet wisteria scarf pattern pairs an airy cream filet mesh with scalloped ends, drooping 3D wisteria clusters, little flowers and leaves.
Intermediate⏱ 14-18 hrs
0% complete
Part 1: Mesh Scarf :
Foundation :With cream yarn and the 4.0 mm hook, ch 46. (To change the width, use any even number: mesh squares = (chain - 4) / 2.) (46 ch)
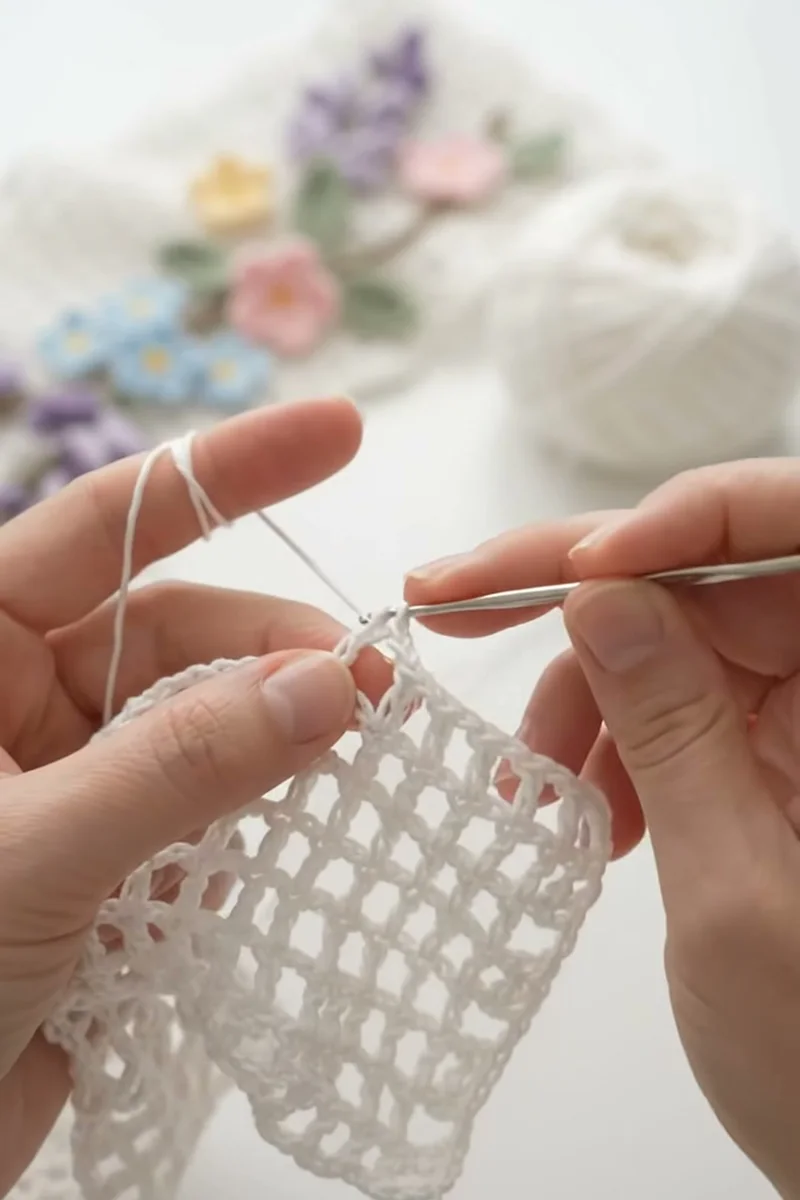
Row 1 :Dc in the 6th ch from hook (the 5 skipped ch count as the first dc, a ch-1 space and one skipped base ch). *Ch 1, sk next ch, dc in next ch.* Rep from * to * across, ending with a dc in the last ch. Turn. (22 dc, 21 ch-1 sps)
Row 2 :Ch 4 (counts as first dc + ch 1). Sk the first ch-1 sp, dc in the next dc. *Ch 1, sk next ch-1 sp, dc in next dc.* Rep from * to * across, working the last dc into the 3rd ch of the turning ch-5. Turn. (22 dc, 21 ch-1 sps)
Rows 3-156 :Ch 4 (counts as dc + ch 1), sk first ch-1 sp, dc in next dc. *Ch 1, sk next ch-1 sp, dc in next dc.* Rep across, working the last dc into the 3rd ch of the turning ch-4. Turn. Each row keeps the same count. The scarf should measure about 69 in (175 cm) before edging. Do not fasten off. (22 dc, 21 ch-1 sps)
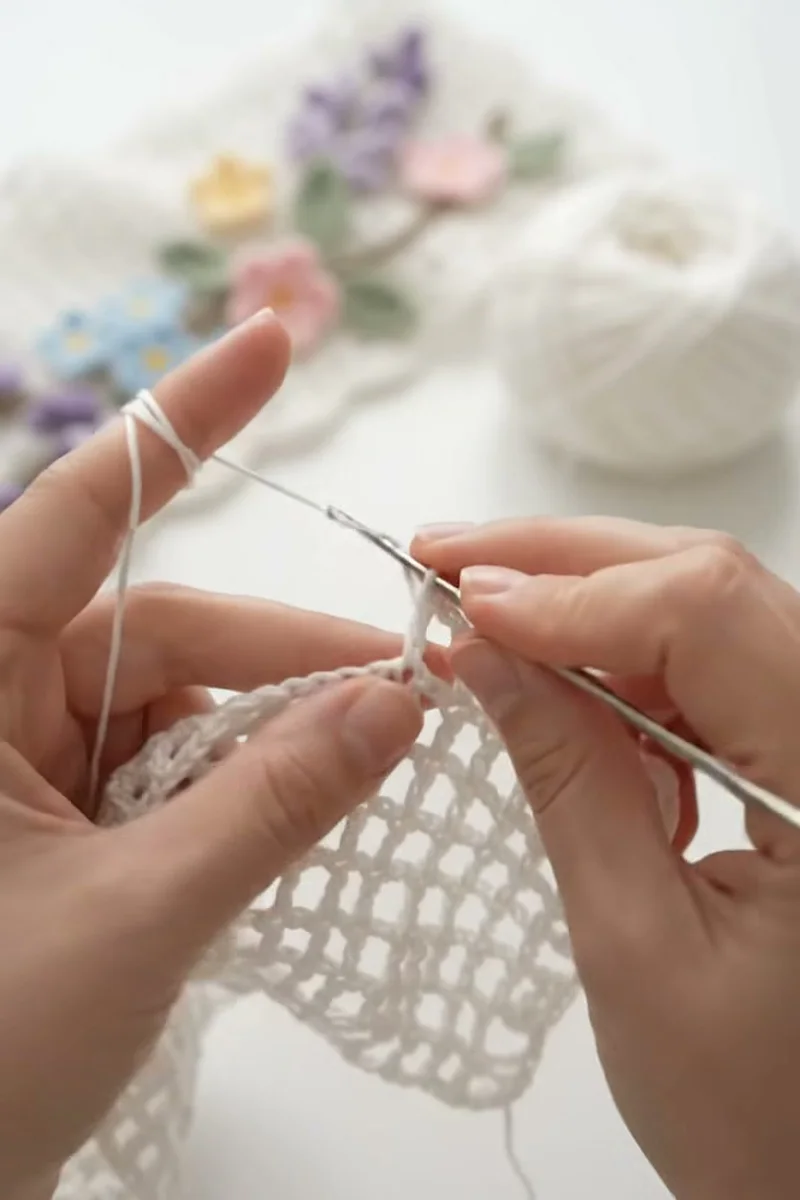
Working the first part, one row at a time.
Part 2: Scallop Edging :
Top End, Row 1 :Continuing from the last row, ch 1 (does not count as a st). Sc in the first dc, *sc in the next ch-1 sp, sc in the next dc.* Rep across, working the last sc into the 3rd ch of the turning ch-4. Turn. (43 sc)
Top End, Row 2 :Ch 1. Sc in the first sc. *Sk 2 sc, 7 dc in the next sc, sk 2 sc, sc in the next sc.* Rep from * to * 6 more times. Turn. (7 shells, 8 sc)
Top End, Row 3 :Ch 1. Sl st in the first sc. *Sc in each of the next 3 dc, 2 sc in the next (center) dc, sc in each of the next 3 dc, sl st in the next sc.* Rep from * to * 6 more times. Fasten off and weave in the end. (56 sc, 8 sl st)
Bottom End, Row 1 :Turn the scarf so the foundation edge is on top. Join cream with a sl st in the foundation ch at the base of the first dc. Ch 1, sc in the same st. *Sc in the next ch-1 sp (around the skipped foundation ch), sc in the base of the next dc.* Rep across, working the last sc into the foundation ch at the base of the turning ch. Turn. (43 sc)
Bottom End, Rows 2-3 :Work exactly as Top End, Rows 2 and 3. Fasten off and weave in all ends. (7 shells; final row 56 sc, 8 sl st)
Block the Scarf :Mist or soak the scarf, roll it in a towel to remove extra water, and pin it flat to about 9 x 71 in (23 x 180 cm), pinning the tip of every scallop. Let it dry completely before adding appliques.
Part 3: Wisteria Clusters :
How They Work :Each cluster is worked back along one chain. You start at the tip with tiny buds and build up to bigger petals at the top. Because two stitches go into every chain, the chain spirals on its own and forms a drooping cone. Make 3 large and 3 small clusters per end (12 total), half in lavender and half in medium purple. Use the 3.0 mm hook and leave a 10 in (25 cm) starting tail for sewing; the slip-knot end becomes the top of the cluster.
Small Cluster: Chain :Ch 21. (21 ch)
Small Cluster: Tip :Sl st in the 2nd ch from hook. (1 sl st)
Small Cluster: Buds :In each of the next 5 ch, work (sc, ch 2, sc). (5 buds)
Small Cluster: Middle Petals :In each of the next 7 ch, work (hdc, ch 2, hdc). (7 petals)
Small Cluster: Top Petals :In each of the next 7 ch, work (dc, ch 2, dc). You have now worked into every chain; the last one is next to the slip knot. Sl st in the base of the last dc and fasten off. (7 petals; 19 petal groups total)
Large Cluster: Chain :Ch 27. (27 ch)
Large Cluster: Petals :Sl st in the 2nd ch from hook. Work (sc, ch 2, sc) in each of the next 6 ch, (hdc, ch 2, hdc) in each of the next 9 ch, and (dc, ch 2, dc) in each of the next 10 ch. Sl st in the base of the last dc and fasten off. (25 petal groups total)
Shape :Hold the cluster by the starting tail and give the petals a gentle twist in the direction they want to curl. Thread the starting tail on a needle and run it through the base of the top 4-5 petal groups, pulling lightly to round the shoulders of the cone. Small clusters measure about 2.75 in (7 cm) long, large clusters about 3.75 in (9.5 cm).
Part 4: Medium 5-Petal Flowers (Pink and Yellow) :
Quantity :Make 4 pink and 3 yellow flowers per end (14 total) with the 3.0 mm hook. Work Round 1 in pale yellow for the pink flowers. For the yellow flowers, work Round 1 in light brown or cream so the center still shows.
Round 1 :With center color, make a MR. Ch 1, 10 sc in the ring. Pull the ring closed and sl st to the first sc. Fasten off center color. (10 sc)
Round 2 :Join petal color with a sl st in any sc. *(Hdc, 2 dc, hdc) in the next sc, sl st in the next sc.* Rep from * to * 4 more times; the last sl st lands in the sc where you joined. Fasten off, leaving a 10 in (25 cm) tail for sewing. (5 petals: 20 sts + 5 sl st)
Size :Each flower measures about 1.5 in (4 cm) across.
Part 5: Small Blue Blossoms :
Quantity :Make 7 blossoms per end (14 total) with the 3.0 mm hook. These sit in little groups of 2-4, like forget-me-nots.
Round 1 :With pale yellow, make a MR. Ch 1, 5 sc in the ring. Pull closed, sl st to the first sc. Fasten off yellow. (5 sc)
Round 2 :Join baby blue with a sl st in any sc. *(Ch 2, 2 dc, ch 2, sl st) in the same sc, sl st in the next sc.* Rep from * to * 4 more times, ending at the sc where you joined. Fasten off, leaving a 10 in (25 cm) tail. (5 petals)
Size :Each blossom measures about 1 in (2.5 cm) across.
Part 6: Leaves :
Quantity :Make 10 leaves per end (20 total) in sage green with the 3.0 mm hook.
Chain :Ch 9. (9 ch)
First Side :Sc in the 2nd ch from hook, hdc in the next ch, dc in each of the next 3 ch, hdc in the next ch, sc in the next ch. (7 sts)
Tip :In the last ch, work (sc, ch 2, sc). This makes the pointed tip. (2 sc + ch-2 tip)
Second Side :Rotate and work along the other side of the foundation chain: sc in the next ch, hdc in the next ch, dc in each of the next 3 ch, hdc in the next ch, sc in the next ch. Sl st to the first sc. Fasten off, leaving a 10 in (25 cm) tail. (16 sts + ch-2 tip)
Size :Each leaf measures about 1.75 in (4.5 cm) long.
Part 7: Branches and Stems :
Main Branch (make 2) :With brown and the 3.0 mm hook, ch 36. Sl st in the back bump of the 2nd ch from hook and in the back bump of each ch across. Fasten off, leaving a 14 in (35 cm) tail. Length about 7 in (18 cm). (35 sl st)
Twigs (make 6) :Ch 16. Sl st in the back bump of the 2nd ch from hook and each ch across. Fasten off, leaving a 10 in (25 cm) tail. Length about 3 in (7.5 cm). (15 sl st)
Optional Surface Stems :For thin stems leading to single flowers, surface slip stitch right onto the mesh instead: hold brown yarn behind the scarf, insert the hook from front to back beside a dc post, pull up a loop, and sl st along the path you want. Pull the end to the back and weave it in.
Assembly :
Step 1 :Lay the blocked scarf flat with both ends side by side, the way it hangs around your neck. The design area on each end runs from just above the scallops to about 11 in (28 cm) up the scarf.
Step 2 :Place a main branch about 9-10 in (23-25 cm) above the scallop edge, running diagonally across the scarf with a slight downward curve. On the second end, mirror the angle so both branches slope toward the outside edges.
Step 3 :Add 3 twigs per end, branching off the main branch at different angles. Two should angle downward (wisteria hangs from these) and one should angle upward toward the neck.
Step 4 :Pin the branch and twigs in place and sew them down with their tails, working small stitches through the center of the cord and around the dc posts of the mesh. Keep stitches hidden on the underside of the cord.
Step 5 :Hang the wisteria: pin the top of each cluster right under the branch or twig so it droops toward the scallops. Alternate lavender and purple, and stagger the sizes (large, small, large) so the tips do not line up. Sew down only the top 1 in (2.5 cm) of each cone so the lower petals stay free.
Step 6 :Place the pink flowers at the branch joints and between wisteria clusters. Tuck groups of 2-4 blue blossoms at the top of the design and along the twigs, and let the yellow flowers fill gaps near the bottom, just above the scallops.
Step 7 :Slide leaves under the edges of the flowers and along the branches, angling them in pairs. Let a few leaves point down beside the wisteria. Step back, take a phone photo, and adjust anything that looks crowded before sewing.
Step 8 :Sew each flower through its center only, with a few stitches through Round 1 into the mesh behind it. Sew each leaf along its center line only, so petals and leaf edges stay raised.
Step 9 :Weave every tail back through the appliques on the wrong side, not through the open mesh, so nothing shows through the windows. Give the ends a light steam from a distance to relax any curling leaves.
Finishing :
Before sewing anything on, block the scarf: pin it out on mats or a folded towel, mist it with the spray bottle and let it dry fully so the mesh squares open up evenly. Pin all the appliques in place on both ends and step back to check the layout before you stitch them down.
Hand wash in cold water and dry flat. Do not wring the scarf, since the wisteria petals can twist out of shape.
Tips for Success :
Tip :💡 To change the width, the foundation chain must be an even number, and mesh squares = (foundation ch - 4) / 2. For the scallop edging to fit, keep the number of squares a multiple of 3: 18, 21 or 24 squares = ch 40, 46 or 52. The sc edging row will then have (squares x 2) + 1 stitches, which is always a multiple of 6 plus 1.
Tip :💡 Each extra 10 rows adds about 4.5 in (11 cm) of length and roughly 30 yd of cream yarn. Add or remove rows freely; any row count works.
Tip :💡 Cotton or a cotton blend shows the mesh best and holds the appliques crisply. Acrylic DK also works, but block it with gentle steam rather than soaking.
Tip :💡 Use the same weight of yarn for all appliques. If your flowers turn out floppy, drop to a 2.75 mm hook.
Tip :💡 Hand wash cold and dry flat. Do not wring, since the wisteria petals can twist out of shape. Reshape the clusters with your fingers while damp.
Common Mistakes to Avoid :
Losing the last stitch of the row. In mesh, the final double crochet always goes into the 3rd chain of the turning chain. Skip it and your scarf will slowly narrow. Count your 22 double crochet every few rows until the rhythm feels natural.
Pulling the chains too tight. Tight ch-1 spaces make the squares look like slits instead of windows. If your squares come out tall and skinny, go up half a hook size.
Sewing the flowers on flat. Tack each blossom only at the center and each wisteria cluster only along its top inch. The petals should lift off the mesh, and that lift is what gives the scarf its full, 3D look.
Sewing before blocking. Mesh stretches a lot when wet. Block the scarf first, let it dry completely, then add your appliques so they do not pucker.
Ways to Customize This Pattern :
Swap the palette for a different season. White wisteria with pale green leaves feels very bridal, while deep plum clusters on a charcoal mesh are gorgeous for autumn.
Want a denser base for the flowers? Work the first and last 22 rows in solid double crochet (dc in each dc and in each ch-1 sp, for 43 dc per row) and switch to mesh for the middle. The scallop edging still fits, since you will have 43 stitches to work into.
For a cowl, stop at 100 rows, skip the scallops and seam the two short ends together, then decorate the area around the seam. You can also skip the scarf entirely and sew the flowers onto a tote bag, a cardigan pocket or a hair clip.
FAQ
Is this scarf beginner friendly?
The mesh body is very beginner friendly, since it only uses chains and double crochet. The flowers need a magic ring and a little practice working two stitches into one chain, so I call the whole project intermediate. A confident beginner can absolutely do it.
How long does the wisteria scarf take to make?
The mesh scarf and edging take me about 8 to 10 hours. The 64 appliques plus assembly add another 6 to 8 hours, so plan on 14 to 18 hours total.
Can I use a different yarn weight?
Yes. With worsted yarn and a 5.0 mm hook, chain 40 for 18 squares and work rows until you like the length. Make the appliques with a 3.5 mm hook so they stay firm. The scarf will be warmer and a bit heavier.
Why does my wisteria cluster not curl?
Usually the stitches are too loose. Try a smaller hook and make sure both stitches of each petal group go into the same chain. A light twist with your fingers after fastening off helps too.
Will the flowers snag or fall off?
Each flower is tacked through its center and each wisteria cone along its top inch, so they sit securely in normal wear. Weave the tails through the appliques a couple of times before trimming and they will stay put through gentle hand washing.
Can I use the flowers on something else?
Of course. The blossoms, leaves and wisteria also make sweet brooches, garlands and bag charms. Sew a pin back or a small clip behind a little bouquet and you have a quick gift.