Follow Me On Social Media!
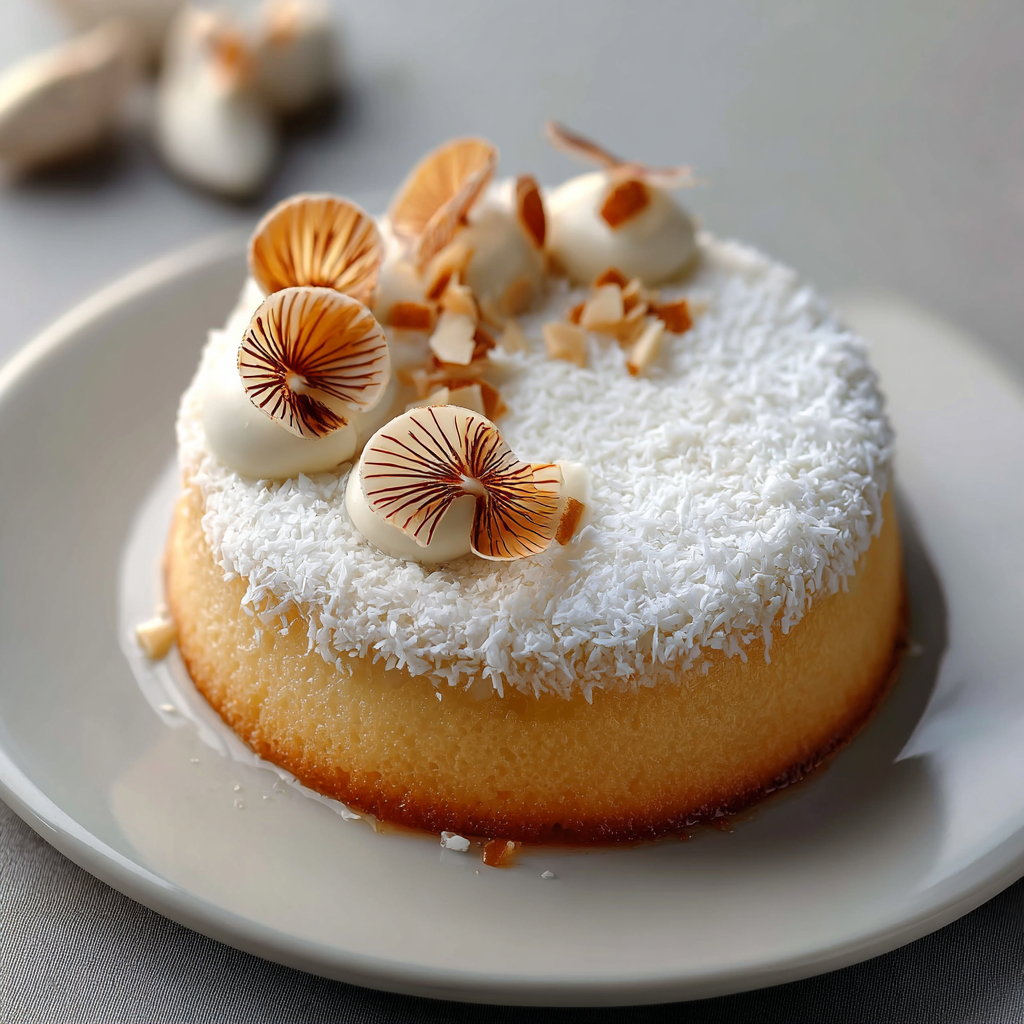
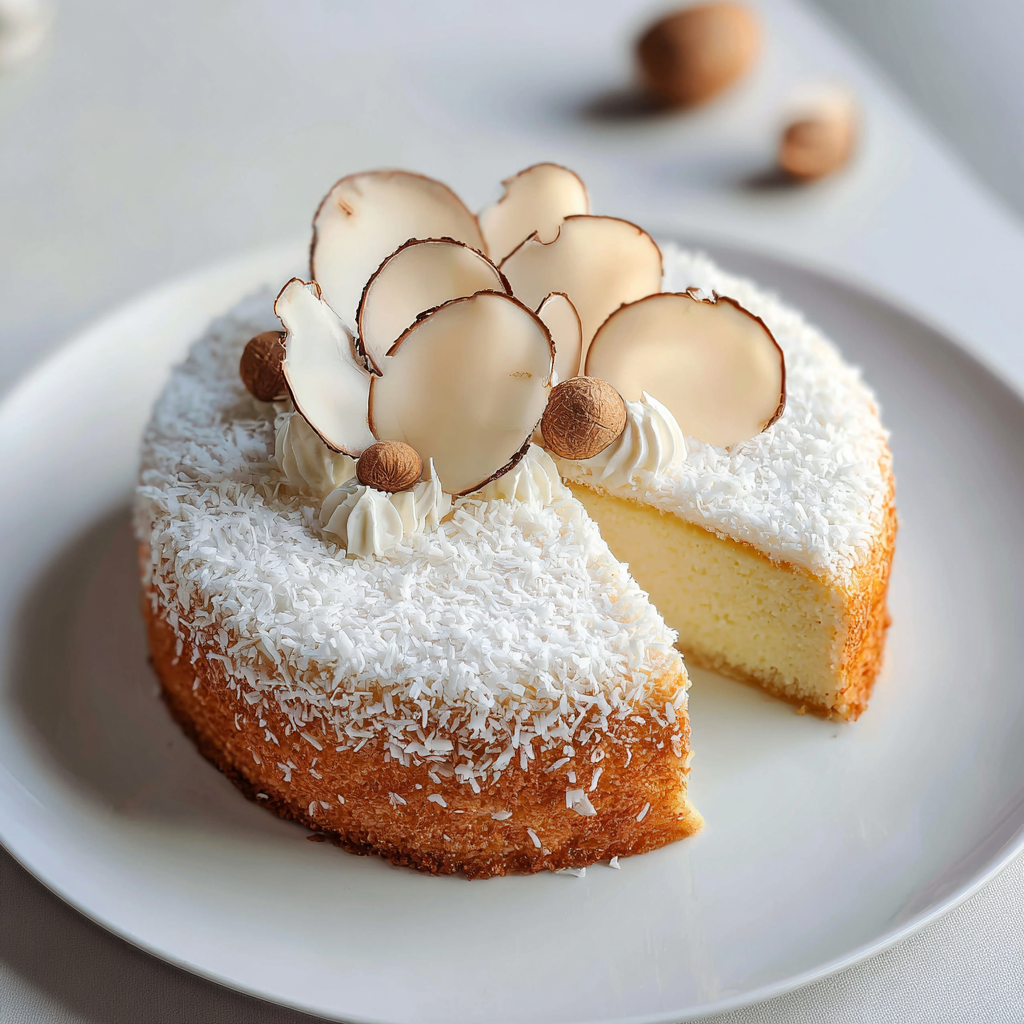
Melting Coconut Cake
Introduction
Here is a question that reframes what a coconut cake can be: when most people think of coconut cake, they think of a towering, frosted layer cake — spectacular in effort, spectacular in caloric commitment, and spectacular in the amount of time standing at a mixer it requires. What if the most extraordinary coconut cake experience available required none of that — no frosting, no layers, no extended beating — and instead produced something so tender, so moist, so deeply and completely coconut-flavored that it literally melts on the tongue before it can be fully chewed?
According to a 2024 pastry trend report by the American Culinary Federation, single-layer, ultra-tender snacking cakes have become the dominant growth category in home baking — driven by home bakers who have discovered that the most technically satisfying baking results often come not from elaborate multi-component constructions but from the precise engineering of a single-layer cake’s texture to achieve something specific and extraordinary. The melting coconut cake is the ultimate expression of that philosophy.
The name is not hyperbole — it describes a specific textural achievement produced by the combination of desiccated coconut that has absorbed the liquid in the batter and softened into the cake’s crumb, a high ratio of fat from both coconut milk and butter that coats every starch granule and produces a melt-in-the-mouth sensation, and a just-set baking temperature that produces a tender crumb with zero toughness from overdeveloped gluten. The result is a cake with the density and richness of a European butter cake, the tropical fragrance of a Southeast Asian coconut dessert, and a texture that has no precise equivalent in any other baking category.
A 2023 food science review in the journal Food Research International identified the medium-chain fatty acids in coconut fat — particularly lauric acid — as producing a significantly different mouthfeel than the long-chain saturated fats in dairy butter, creating the characteristic clean, rapid-melting sensation associated with high-quality coconut-based confections and distinguishing this cake’s texture from any butter-only equivalent.
Ingredients List
For the Cake
- 200g (1¾ sticks / ¾ cup + 2 tbsp) unsalted butter, softened to room temperature
- 200g (1 cup) granulated sugar (sub: caster sugar for a finer crumb)
- 4 large eggs, room temperature
- 1 tsp pure vanilla extract
- 1 tsp coconut extract (optional — intensifies the coconut flavor significantly)
- 200g (1⅔ cups) all-purpose flour, sifted
- 1½ tsp baking powder
- ½ tsp fine sea salt
- 150ml (⅔ cup) full-fat coconut milk (from a can — shake well before opening)
- 150g (1½ cups) desiccated coconut (unsweetened — sweetened coconut produces an excessively sweet result)
- 2 tbsp coconut oil, melted (adds additional coconut fat for maximum melt)
For the Coconut Syrup (The Key to the Melting Texture)
- 60ml (¼ cup) coconut milk
- 2 tbsp caster sugar
- 1 tsp vanilla extract
- Pinch of fine sea salt
For the Topping (Optional but Visually Striking)
- 50g (½ cup) desiccated or shredded coconut, toasted until golden
- 2 tbsp powdered sugar, for dusting
- Or a simple coconut glaze: 100g powdered sugar + 2–3 tbsp coconut milk whisked smooth
Timing
- Prep Time: 15 minutes
- Bake Time: 35–40 minutes
- Syrup and Cooling Time: 20 minutes
- Total Time: approximately 70–75 minutes
Step-by-Step Instructions
Step 1: Prepare for Baking
Preheat the oven to 325°F (160°C) — this lower-than-standard temperature is deliberate and critical. High-heat baking develops the crust and exterior rapidly while the interior remains raw — the lower temperature allows the entire cake to bake at an even, gentle rate that produces the uniformly tender, moist crumb the recipe is designed around. Grease a 9-inch (23cm) round cake pan generously with butter and line the bottom with parchment paper. For a square option, use a 20x20cm (8×8 inch) pan.
Step 2: Cream the Butter and Sugar
Beat the softened butter and granulated sugar together in a large bowl using a hand or stand mixer on medium-high speed for 4–5 full minutes — significantly longer than most cake recipes specify. This extended creaming is the technique that produces the cake’s characteristic lightness and the fine, even crumb structure that contributes to the melting texture. The mixture should turn from yellow and grainy to pale, fluffy, and almost white, increasing noticeably in volume. The air incorporated during this extended creaming expands during baking and creates the fine, even air cell structure that makes the crumb so tender.
Key tip: The butter must be genuinely room temperature — approximately 65–68°F (18–20°C). Cold butter does not cream properly and produces a dense batter; warm or melted butter does not hold air and produces a flat, greasy result. Press the butter with your thumb — it should leave a clean impression without resistance.
Step 3: Add Eggs and Flavorings
Add the eggs one at a time, beating for 45–60 seconds after each addition and scraping down the sides of the bowl between each. Adding eggs too quickly without sufficient beating between each addition causes the emulsion to break — the batter appears curdled and produces a denser, less evenly textured cake. Add the vanilla and coconut extract after the final egg and beat for another 30 seconds.
Key tip: If the batter does appear curdled after the eggs — which can happen if the eggs are cold — add 1 tablespoon of flour from the measured amount and beat briefly. The flour re-emulsifies the batter in most cases.
Step 4: Fold in the Dry Ingredients and Coconut Milk
Sift together the flour, baking powder, and salt. Add to the batter in three additions, alternating with the coconut milk in two additions — beginning and ending with flour. Fold each addition with a rubber spatula using the minimum number of strokes necessary to incorporate — the fold-until-just-combined principle that prevents gluten overdevelopment and maintains the tender crumb. After the final flour addition, fold in the desiccated coconut and melted coconut oil.
The batter at this stage will be noticeably thicker than a standard cake batter — the desiccated coconut absorbs a significant amount of moisture and produces a batter closer to a thick cookie dough than the pourable consistency of most cake batters. This is correct.
Key tip: The desiccated coconut in the batter is what produces the characteristic melting texture — during baking, the coconut absorbs the surrounding liquid and fat, softening completely into the crumb and eliminating the fibrous, chewy texture of coconut in lesser preparations. By serving time, the coconut has become indistinguishable from the surrounding crumb — contributing richness and flavor without detectable texture.
Step 5: Bake
Spread the batter evenly in the prepared pan — it will be thick and require spreading with a spatula rather than pouring. Bake at 325°F (160°C) for 35–40 minutes until a skewer inserted into the center comes out clean or with a few moist crumbs, the top is a light golden color, and the edges have pulled slightly away from the pan sides. The cake should not be deeply golden — a pale, even gold indicates the correct gentle baking temperature is producing the tender, rather than dry, interior the recipe requires.
Do not open the oven door before the 30-minute mark — the lower baking temperature means the cake’s structural proteins take longer to set and an early temperature drop can cause the center to sink.
Step 6: Apply the Coconut Syrup
While the cake is in its final 5 minutes of baking, combine the coconut milk, caster sugar, vanilla, and salt in a small saucepan over medium heat. Stir until the sugar dissolves completely — approximately 2 minutes. Do not allow to boil vigorously.
Remove the cake from the oven and immediately, while still in the pan, use a skewer or toothpick to poke holes across the entire surface — approximately 20–25 holes distributed evenly. Pour the warm coconut syrup slowly and evenly over the hot cake — it will absorb immediately into the holes and spread through the crumb, adding an additional layer of coconut flavor and contributing significantly to the moist, melting texture.
Key tip: This syrup application is the technique that transforms a very good coconut cake into the extraordinary, melting version the recipe promises. The holes allow the syrup to penetrate deeply into the crumb rather than merely coating the surface — producing moisture that permeates every bite rather than a sticky exterior.
Step 7: Cool, Top, and Serve
Allow the cake to cool in the pan for 20 minutes before removing — the syrup needs time to fully absorb and the crumb needs time to firm from the residual heat before the cake can be handled without breaking. Turn out onto a wire rack and cool completely before topping.
Toast the desiccated or shredded coconut in a dry skillet over medium heat, stirring constantly, for 3–4 minutes until golden and fragrant — it goes from pale to golden very quickly, so watch closely. Scatter generously over the cooled cake. Dust with powdered sugar or drizzle with the coconut glaze if using.
Nutritional Information
Per serving — based on 12 slices, without glaze.
| Nutrient | Per Serving | % Daily Value* |
|---|---|---|
| Calories | 385 kcal | 19% |
| Total Fat | 24g | 31% |
| Saturated Fat | 17g | 85% |
| Total Carbohydrates | 40g | 15% |
| Total Sugar | 24g | — |
| Protein | 5g | 10% |
| Dietary Fiber | 2g | 7% |
| Sodium | 115mg | 5% |
| Iron | 8% DV | 8% |
| Magnesium | 10% DV | 10% |
*Based on a standard 2,000-calorie daily diet.
The magnesium content — 10% of the daily recommended value from the desiccated coconut alone — reflects coconut’s status as one of the better dietary sources of this essential mineral that supports muscle function, nerve transmission, and energy metabolism.
Healthier Alternatives
Lower sugar: Reduce the granulated sugar to 160g and use unsweetened desiccated coconut — the natural sweetness of the coconut fat provides background sweetness that supports a meaningful sugar reduction without the cake tasting undersweetened.
Dairy-free: This cake is almost entirely dairy-free by nature — the only dairy component is the butter. Replace with an equal weight of refined coconut oil or a high-quality vegan butter. The coconut oil version intensifies the coconut flavor further and produces an entirely plant-based cake.
Gluten-free: Replace the all-purpose flour with a certified gluten-free 1:1 baking blend. Add ¼ teaspoon of xanthan gum if the blend does not already contain it. The desiccated coconut provides significant structural support that makes this one of the more successful gluten-free cake conversions.
Higher fiber: Replace 50g of the all-purpose flour with an equal weight of whole wheat pastry flour and add 2 tablespoons of ground flaxseed to the dry ingredients. The nuttier, slightly denser result pairs beautifully with the tropical coconut character.
Reduced saturated fat: Replace half the butter with unsweetened applesauce — 100g of applesauce in place of 100g of butter. The cake will be noticeably less rich but remains moist and tender, with the applesauce contributing natural sweetness that allows the sugar to be reduced by 20g simultaneously.
Serving Suggestions
Plain with tea or coffee: The cake’s intense coconut flavor and extraordinary texture are fully expressed without any accompaniment — served at room temperature with a cup of strong black tea or coffee, it is one of the most satisfying afternoon cake experiences available.
With tropical fruit: Serve alongside sliced mango, fresh pineapple, or passion fruit — the acidity and sweetness of tropical fruit provides the bright contrast that the rich, fatty coconut cake benefits from. A spoonful of passion fruit pulp poured directly over a warm slice is particularly extraordinary.
With whipped coconut cream: Whip the solid cream from a refrigerated can of coconut milk with 1 tablespoon of powdered sugar and ½ teaspoon of vanilla to soft peaks. A dollop alongside each slice amplifies the coconut character while providing a cool, light contrast to the dense, rich cake.
Warm with ice cream: Microwave a slice for 15 seconds and serve with a scoop of vanilla bean or mango sorbet. The warm, melting cake against cold ice cream produces a temperature contrast that makes the melting texture even more pronounced and satisfying.
As a celebration cake with glaze: Drizzle generously with the coconut milk glaze, scatter toasted coconut across the surface, and add edible flowers for a presentation that reads as a proper celebration cake from a recipe that required a fraction of the effort of a conventional layer cake.
Common Mistakes to Avoid
Under-creaming the butter and sugar. The 4–5 minute extended creaming is the technique that produces the fine, even crumb structure the cake requires. Stopping at 2 minutes produces a denser, less tender result with a coarser crumb that does not melt in the same way. Time the creaming rather than relying on visual assessment.
Using cold eggs. Cold eggs cause the emulsified butter and sugar mixture to seize and curdle — producing a dense, uneven batter with visible lumps of curdled butter fat. Room temperature eggs incorporate smoothly and maintain the emulsion built during creaming. Remove eggs from the refrigerator at least 30 minutes before baking.
Baking at too high a temperature. The lower 325°F (160°C) temperature is the specific engineering choice that produces the uniformly tender, moist crumb — not the golden, slightly dry, firmer crumb produced by standard 350°F (175°C) or higher baking. Do not increase the temperature to reduce the baking time.
Not applying the syrup immediately. The syrup must be applied to the hot cake directly from the oven — the heat opens the cake’s crumb structure and allows the syrup to absorb immediately and deeply. Syrup applied to a cooled cake sits on the surface and produces a sticky exterior rather than a moist interior.
Skipping the parchment lining. This cake’s high fat content makes it prone to sticking despite generous greasing — particularly on the bottom where the coconut fat migrates during baking. The parchment liner is the reliable insurance against a cake that tears on unmolding.
Storing Tips
Room temperature: Store covered with a cake dome or loosely tented with plastic wrap at room temperature for up to 3 days. The texture actually improves over the first 24 hours as the desiccated coconut continues to absorb moisture from the surrounding crumb and the syrup fully distributes through the cake.
Refrigerator: Refrigerate for up to 5 days. Remove 30 minutes before serving — cold coconut fat produces a firmer, less melting texture. Bringing the cake to room temperature restores the characteristic soft, yielding crumb.
Freezer: Slice, wrap individual portions in plastic wrap and then foil, and freeze for up to 3 months. Thaw at room temperature for 2 hours. The syrup-soaked crumb survives freezing and thawing with minimal quality compromise — this cake is one of the better baked goods for freezer storage.
Make-ahead: The cake is genuinely better made 24 hours ahead — the overnight rest allows the syrup to fully distribute, the coconut to completely soften into the crumb, and all the flavors to meld into a more cohesive, more deeply coconut-flavored result. Make the day before any occasion and allow to sit at room temperature overnight before topping and serving.
Conclusion
Melting coconut cake proves that the most extraordinary baking results come not from the most elaborate constructions but from the precise engineering of a single cake’s texture toward a specific, extraordinary outcome. Extended creaming, lower baking temperature, desiccated coconut that disappears into the crumb, and a coconut syrup that permeates every bite — four decisions that produce a cake that lives up to its name completely and earns its place as the coconut dessert that makes every other version feel unnecessarily complicated.
Make it and share your results in the comments — tell us whether the texture lived up to its name, which topping you chose, and whether it was better on day one or day two. Leave a review, share with someone who loves coconut, and subscribe to our newsletter for more precisely engineered, deeply flavored baking recipes every week.
FAQs
Can I use sweetened desiccated coconut? Sweetened coconut produces an excessively sweet, slightly cloying result — the sugar coating on sweetened coconut adds significant additional sweetness that pushes the cake beyond the pleasant coconut richness the recipe aims for. Unsweetened desiccated coconut is strongly recommended. If only sweetened is available, reduce the granulated sugar in the cake to 150g.
What is the difference between desiccated coconut and shredded coconut? Desiccated coconut is finely ground and very dry — it absorbs into the cake crumb almost completely during baking and produces the melting texture. Shredded coconut is coarser, moister, and retains more texture in the finished cake. Desiccated is the correct choice for the interior of this cake. Shredded coconut — toasted — works beautifully as the exterior topping where its texture is an asset rather than a liability.
Can I make this in a loaf pan? Yes — use a standard 9×5-inch (23x13cm) loaf pan greased and parchment-lined. Increase the baking time to 45–55 minutes and begin checking at 45 minutes. The loaf format produces a taller, more dramatic cross-section and slices particularly cleanly — making it an elegant option for gifting or serving to guests.
Why is my cake dense rather than light and melting? The three most common causes are under-creaming the butter and sugar, cold eggs causing the emulsion to break, or overmixing the batter after the flour is added. Creaming for the full 4–5 minutes, using room-temperature eggs, and folding the flour in with the minimum possible strokes all address the density problem. The syrup application also contributes significantly to the moist, tender texture — verify that it was applied hot and absorbed fully.
Can I add any other flavors to this cake? Yes — lime zest and juice work beautifully in a coconut-lime variation. A tablespoon of dark rum added with the vanilla produces a Piña Colada-adjacent flavor. Cardamom at ½ teaspoon added to the dry ingredients introduces a floral, aromatic depth that pairs particularly well with the tropical coconut. Toasted macadamia nuts folded in with the desiccated coconut add crunch and a complementary richness.
What makes this cake different from a standard coconut cake? Three specific engineering decisions distinguish this from a standard coconut cake: the desiccated coconut in the batter that softens completely into the crumb rather than providing detectable texture; the lower baking temperature that produces a uniformly tender interior rather than a firmer, drier crumb; and the syrup application that penetrates deeply into the crumb rather than sitting on the surface. The combination of these three decisions produces the specific melting texture that makes this cake distinctive — a standard coconut cake recipe without these specific techniques produces a pleasant but fundamentally different result.