
Follow Me On Social Media!
Nun’s Puffs
Introduction
Here is a question that challenges the assumption that the most extraordinary pastry experiences require the most elaborate techniques: when was the last time a recipe that dates back centuries — a preparation so simple that it was made in convent kitchens with nothing more than butter, milk, flour, eggs, and a muffin tin — produced something so extraordinarily light, so golden, so puffed and hollow and fragrant that everyone who tasted it immediately asked what on earth they were eating and whether they could have another?
Nun’s Puffs — pets de nonne in the French tradition from which many versions derive, though the muffin-tin American version has its own distinct character — are one of the great unsung quick pastries of the European baking canon. A thick batter made from the same principles as choux pastry — butter and milk heated together, flour cooked into the liquid, eggs beaten in one at a time to produce a smooth, glossy, elastic batter — baked in buttered muffin cups until puffed dramatically above the rim of the tin, golden on the outside, and almost completely hollow within. The hollow interior — the result of steam expansion during baking that the set exterior traps — is what makes the first bite so extraordinary: the thin, crispy, golden outer shell gives way to an airy, almost nothing interior with the faint eggy richness of a proper choux.
According to a 2024 food history report by the Oxford Companion to Food, Nun’s Puffs represent one of the oldest surviving quick pastry preparations in the European baking tradition — recorded in French and English recipe collections as far back as the 17th century — and their persistence across 400 years of culinary evolution is explained entirely by the fact that they are genuinely, inexplicably delicious for something made from four ingredients in under 30 minutes. A 2023 baking science review in the journal Food Research International confirmed that the choux-principle batter — in which starch gelatinization during the initial cooking step followed by egg protein incorporation produces a stable, steam-trapping elastic network — is one of the most elegant applications of culinary science in the pastry canon.
Ingredients List
For the Puffs (Makes 12)
- 120g (½ cup / 1 stick) unsalted butter
- 240ml (1 cup) whole milk
- 150g (1¼ cups) all-purpose flour
- 4 large eggs, room temperature
- 1 tbsp granulated sugar (optional — adds a subtle sweetness to the shell)
- ¼ tsp fine sea salt
- ¼ tsp ground nutmeg (optional — the classical Nun’s Puffs seasoning that adds a barely perceptible warmth)
For the Muffin Tin
- 2 tbsp unsalted butter, softened (for greasing — generously)
- 1 tbsp granulated sugar (sprinkled in each cup after buttering — creates a slightly crispy, golden base)
For Finishing (Optional but Traditional)
- Powdered sugar, for a generous dusting
- Honey or maple syrup, for drizzling
- Fresh fruit — strawberries, raspberries, or blueberries — alongside
- Whipped cream or crème fraîche
- Or simply flaky sea salt and extra butter for a savory version
Timing
- Prep Time: 10 minutes
- Bake Time: 20–25 minutes
- Total Time: 30–35 minutes
One of the fastest extraordinary pastry preparations available. The batter takes 10 minutes to make, requires no resting or chilling, and bakes in under 25 minutes. Serve immediately from the oven.
Step-by-Step Instructions
Step 1: Prepare the Muffin Tin
Preheat the oven to 400°F (200°C). Using a pastry brush or your fingers, grease each cup of a standard 12-cup muffin tin very generously with the softened butter — more generously than seems necessary, covering the bottom and sides of each cup completely. Sprinkle approximately ¼ teaspoon of granulated sugar into each buttered cup and tilt the tin to distribute the sugar in an even layer across the butter. This buttered-and-sugared cup is what produces the golden, slightly caramelized exterior of the base of each puff — an essential detail that separates a properly made Nun’s Puff from a generic muffin.
Key tip: Place the buttered and sugared muffin tin in the freezer for 5 minutes while making the batter — the cold butter solidifies and prevents it from absorbing into the batter when it is poured in, ensuring the butter stays on the surface and produces the caramelized exterior.
Step 2: Make the Panade — Cook the Butter, Milk, and Flour
Combine the butter and whole milk in a medium saucepan over medium heat. Stir gently as the butter melts and the mixture begins to heat — bring just to a rolling boil. The moment the mixture reaches a full boil and the butter is completely melted, add all the flour at once and stir vigorously with a wooden spoon for 1–2 minutes over the heat until the mixture forms a smooth, cohesive ball that pulls away from the sides and bottom of the pan cleanly.
This cooking of the flour in the hot butter-milk mixture — the same panade technique used in choux pastry — is the technical foundation of the recipe. The starch granules in the flour absorb the surrounding liquid and burst, creating a gelatinized starch network that is elastic, smooth, and capable of trapping steam during baking. Under-cooking the panade — removing from heat before the ball forms cleanly — produces a batter that will not puff reliably.
Key tip: The dough should leave a thin film on the bottom of the pan and the ball should feel slightly dry rather than sticky — this indicates that sufficient moisture has evaporated from the mixture and the starch is properly gelatinized. If the ball still seems wet and pasty after 2 minutes of stirring over the heat, cook for another 30–60 seconds.
Step 3: Cool Briefly and Add Eggs
Remove the pan from the heat and allow the cooked dough to cool for 3–4 minutes — stirring occasionally to release steam. The dough must be hot enough to still be soft and workable but not so hot that it cooks the eggs when they are added. If eggs are added to dough that is too hot, the exterior of the egg proteins cook immediately on contact and produce visible scrambled egg pieces rather than a smooth incorporation.
Add the eggs one at a time, beating vigorously with a wooden spoon or a hand mixer after each addition until the egg is completely incorporated before the next is added. After the first egg, the dough will appear to separate into slippery, curdled pieces — this is normal and expected. Continue beating and it will come back together into a smooth, glossy, elastic batter. Each subsequent egg incorporates more easily than the first. After all four eggs, the batter should be smooth, shiny, and thick enough to fall from the spoon in a slow, heavy ribbon rather than running off quickly. Add the sugar, salt, and nutmeg and beat briefly to incorporate.
Key tip: The batter consistency after all eggs are incorporated determines the puff height. Batter that is too thick — indicating the eggs were not fully incorporated or the panade was over-dried — produces denser, less dramatically puffed results. Batter that flows freely in a thick, glossy ribbon is correctly hydrated for maximum puff.
Step 4: Fill the Muffin Cups
Remove the muffin tin from the freezer. Divide the batter evenly among the 12 cups — filling each approximately three-quarters full. The batter is thick enough to mound slightly above the bottom of the cup. Do not smooth the tops — the natural, irregular surface of the poured batter produces a more visually interesting, irregular puff than a smoothed surface.
Step 5: Bake
Bake at 400°F (200°C) for 20–25 minutes — do not open the oven door before the 18-minute mark. The puffs rise dramatically above the rim of the muffin tin during baking as the steam generated from the egg and milk content expands inside the set outer shell. The exterior sets into a golden, slightly caramelized crust while the interior remains largely hollow. The puffs are done when they are deeply golden across the entire exposed surface, feel completely set and rigid when very gently touched, and have pulled slightly away from the sides of the muffin cups.
Key tip: Opening the oven door before the structure has fully set — before 18 minutes — causes the puffs to deflate immediately and irreversibly. The steam driving the expansion must remain in the hot oven environment to maintain the puffs’ structure during the critical setting phase. After 18 minutes, the structure is sufficiently set that a brief door opening for checking is safe.
Step 6: Remove and Serve Immediately
Remove the puffs from the oven. Run a thin knife around the edge of each cup if needed and lift each puff out immediately — leaving them in the hot tin causes the steam to condensate on the base and soften the caramelized bottom crust. Place on a serving plate and dust generously with powdered sugar pushed through a fine sieve. Serve within 5 minutes of removing from the oven — Nun’s Puffs are at their absolute best immediately after baking, when the exterior is at its crispiest and the interior is still warm and faintly eggy. They soften noticeably within 20 minutes.

Nutritional Information
Per serving — based on 1 puff from a batch of 12, without toppings.
| Nutrient | Per Serving | % Daily Value* |
|---|---|---|
| Calories | 155 kcal | 8% |
| Total Fat | 10g | 13% |
| Saturated Fat | 6g | 30% |
| Total Carbohydrates | 13g | 5% |
| Total Sugar | 2g | — |
| Protein | 4g | 8% |
| Dietary Fiber | 0.3g | 1% |
| Sodium | 75mg | 3% |
| Calcium | 4% DV | 4% |
| Vitamin A | 10% DV | 10% |
*Based on a standard 2,000-calorie daily diet.
At 155 calories per puff with 4 grams of protein from the eggs and milk, Nun’s Puffs are among the more calorie-appropriate indulgent pastries available — the dramatic visual impact and the extraordinary texture are achieved at a caloric cost that makes serving 2 per person entirely reasonable for a special breakfast or dessert.
Healthier Alternatives
Lower fat: Replace 2 tablespoons of the butter with an equal weight of cream cheese — the cream cheese adds protein and reduces the pure fat content while maintaining a comparable richness and the smooth, cohesive batter structure the recipe requires.
Dairy-free: Replace whole milk with full-fat oat milk and butter with a high-quality plant-based butter. The batter behavior is comparable and the puffs rise almost identically — the interior is slightly less rich but the puff height and exterior texture are maintained.
Higher protein filling: Once baked, split each puff at the base and fill the hollow interior with Greek yogurt and fresh berries, or whipped ricotta sweetened with honey. This transforms the pastry into a more nutritionally complete snack or dessert.
Whole wheat version: Replace 50g of the all-purpose flour with an equal weight of whole wheat pastry flour. The puffs will be very slightly denser and less dramatically risen but have a more complex, nuttier flavor with additional fiber.
Serving Suggestions
Classic breakfast: Served warm from the oven on a plate dusted with powdered sugar alongside a cup of strong coffee or tea. This is the simplest and most traditional format — the puffs require nothing beyond the dusting and the warmth to be extraordinary.
With honey and butter: Split each puff along the side and fill with a small knob of salted butter and a drizzle of raw honey. The butter melts against the still-warm interior and the honey pools in the hollow — a combination of flavors that makes the puff format feel specifically designed to receive exactly this filling.
As a dessert with fruit and cream: Plate 2 puffs per person, dust with powdered sugar, and surround with macerated fresh strawberries and a spoonful of lightly sweetened whipped cream. This dessert format presents a simple pastry as an elegant, composed plate.
Savory version: Omit the sugar from the batter and the muffin tin cups. Add ½ cup of finely grated Gruyère and 1 tablespoon of fresh thyme to the batter along with the eggs. The savory Nun’s Puffs are a dramatic, elegant appetizer or bread alternative served alongside soup — the cheese melts into the shell and produces a golden, slightly gruyère-flavored crust.
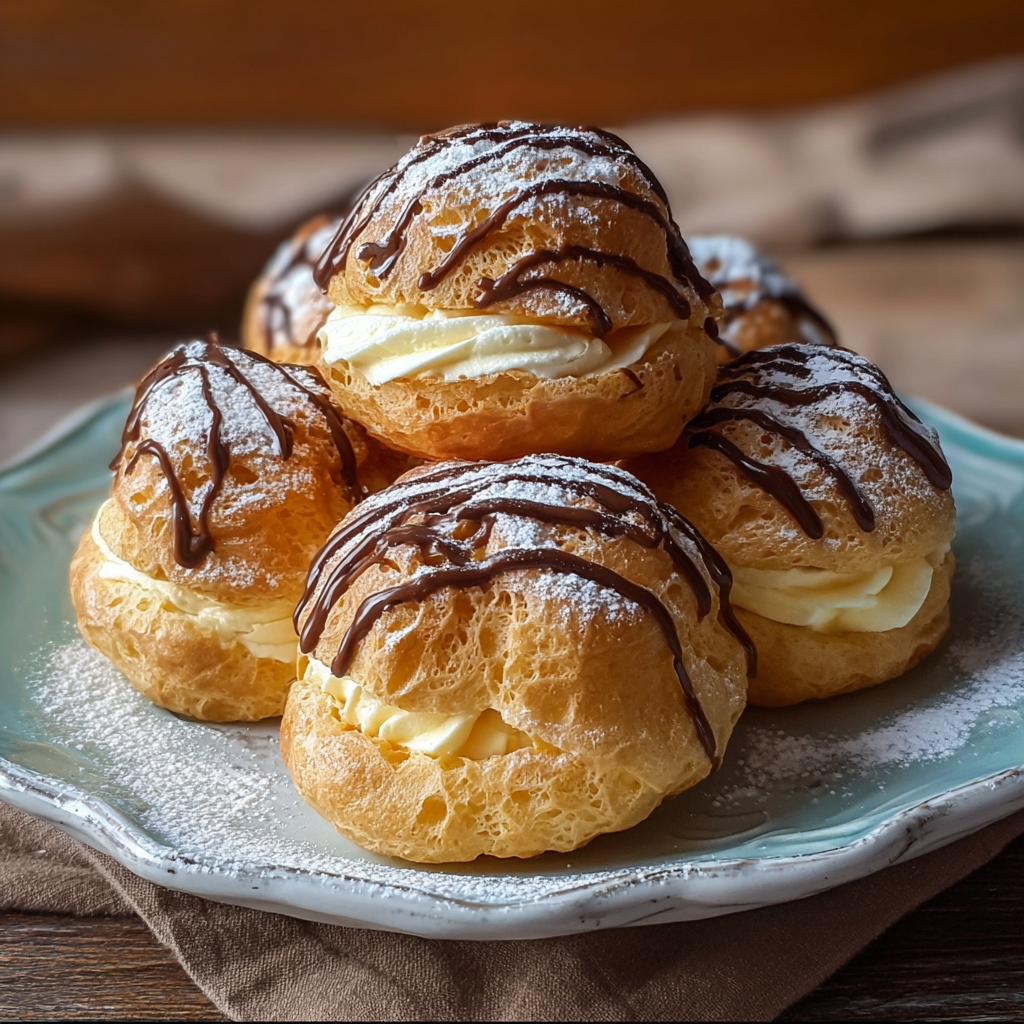
Filled as individual cream puffs: Fill a piping bag with sweetened whipped cream or pastry cream and pipe into the hollow of each split puff for a simplified cream puff that can be made in a muffin tin rather than piped onto a baking sheet.
Common Mistakes to Avoid
Not cooking the panade long enough. The flour must be fully cooked in the hot butter-milk mixture until the dough forms a clean, dry ball that pulls away from the pan. Under-cooked panade contains too much moisture and produces dense, flat puffs rather than dramatically risen, hollow ones.
Adding eggs to hot dough. Eggs added to dough that is still very hot — immediately from the stove — cook on contact and produce scrambled egg pieces rather than a smooth, glossy incorporation. The 3–4 minute cooling period is necessary and should not be shortened.
Not greasing the muffin tin generously. Insufficiently buttered cups cause the puffs to stick and tear when removed, destroying the caramelized base crust. More butter than seems reasonable is the correct amount.
Opening the oven door too early. The steam-driven expansion that produces the dramatic puff height requires a consistent hot oven environment throughout the critical setting phase. Opening the door before 18 minutes collapses the unset puffs irrecoverably.
Waiting to serve. Nun’s Puffs are time-sensitive in a way that few pastries are — they are extraordinary at 5 minutes from the oven and merely good at 20 minutes. Plan service to coincide with their emergence from the oven rather than working backward from the service time.
Storing Tips
Same day only: Nun’s Puffs do not store well — the crispy exterior softens within 20–30 minutes of baking and the dramatic hollow interior compresses as the steam dissipates. They are designed to be served immediately and there is no practical storage solution that preserves their defining qualities.
Re-crisping: If the puffs have softened and must be served later, place in a 375°F (190°C) oven for 4–5 minutes to re-crisp the exterior. They will not recover the full puff height but the exterior will return to crispness and the warm, eggy fragrance will re-emerge.
Batter storage: The uncooked batter can be refrigerated for up to 24 hours in a sealed container. Allow to come to room temperature for 20 minutes before filling the muffin cups and baking — cold batter puffs slightly less dramatically than room-temperature batter. This approach allows the batter to be made the night before a breakfast occasion with the 25-minute bake happening on the morning.
Make-ahead for brunch: Prepare the batter the evening before, refrigerate, and bake fresh on the morning. This is the most practical approach for serving Nun’s Puffs to a group — the 10-minute preparation happens at leisure the night before and the 25-minute bake produces freshly made puffs with minimal morning effort.
Conclusion
Nun’s Puffs prove that the oldest recipes are sometimes the most extraordinary — a simple choux-principle batter poured into a buttered muffin tin and baked until it puffs dramatically and hollows completely, producing a pastry that is simultaneously the simplest and the most surprising thing to emerge from an oven on any given morning. Four ingredients, 30 minutes, and the kind of baking magic that makes everyone at the table ask what they just ate.
Make them and share your results in the comments — tell us how dramatically they puffed, which topping you chose, and whether anyone believed they were made in a muffin tin. Leave a review, share with someone who loves baking history and extraordinary simple recipes, and subscribe to our newsletter for more historic, technique-driven baking recipes every week.
FAQs
Why didn’t my puffs rise dramatically? Four possible causes: the panade was under-cooked and retained too much moisture; the eggs were not fully incorporated and the batter was not sufficiently smooth and elastic; the oven door was opened before the 18-minute mark and the unset puffs deflated; or the muffin tin was not sufficiently buttered, causing the puffs to stick and not rise freely. Address all four and the puffs will rise above the rim of the tin reliably.
Can I make these in a mini muffin tin? Yes — fill mini muffin cups halfway and bake at 400°F (200°C) for 14–16 minutes. The mini puffs are bite-sized, rise proportionally, and are particularly charming for a dessert table or brunch spread. The recipe produces approximately 24 mini puffs from the same batter quantity.
What is the difference between Nun’s Puffs and cream puffs? Both use a choux-principle batter, but cream puffs are piped onto a flat baking sheet in mounds and the hollow is created by the expanding steam escaping upward. Nun’s Puffs are baked in muffin cups where the surrounding sides force the batter upward rather than outward, producing a taller, more columnar puff with a caramelized base from the buttered cup. The flavor and texture are closely related — the muffin tin version is more accessible for home bakers.
Can I add flavoring to the batter? Yes — the batter is versatile. For sweet variations: vanilla extract (1 tsp), lemon or orange zest (1 tsp), or cinnamon and cardamom (¼ tsp each) all integrate naturally. For savory variations: grated Gruyère (½ cup), fresh herbs, smoked paprika, or Dijon mustard (1 tsp) produce savory puffs that work as appetizers or bread alternatives.
Why do Nun’s Puffs go soft so quickly? The dramatic puff height is created by steam expansion within the set exterior shell. As the puffs cool, the steam condenses into water droplets that soften the interior of the crust from within. This condensation process is unavoidable and is why Nun’s Puffs must be served immediately. Re-crisping in a hot oven partially reverses the softening by re-evaporating the condensed moisture — but the process can only be repeated once before the quality degrades significantly.
Can this recipe be doubled? Yes — double all ingredients and use two 12-cup muffin tins. Both can be baked simultaneously on separate oven racks — rotate the tins at the 12-minute mark to ensure even browning. The batter doubles without any adjustment to technique or timing.